
Soil nailing is a widely used reinforcement technique in excavation projects. It involves stabilizing slopes by installing steel-reinforced soil nails, followed by the application of a wire mesh and sprayed concrete layer to form a composite retaining structure.
Construction Process of Soil Nailing Wall
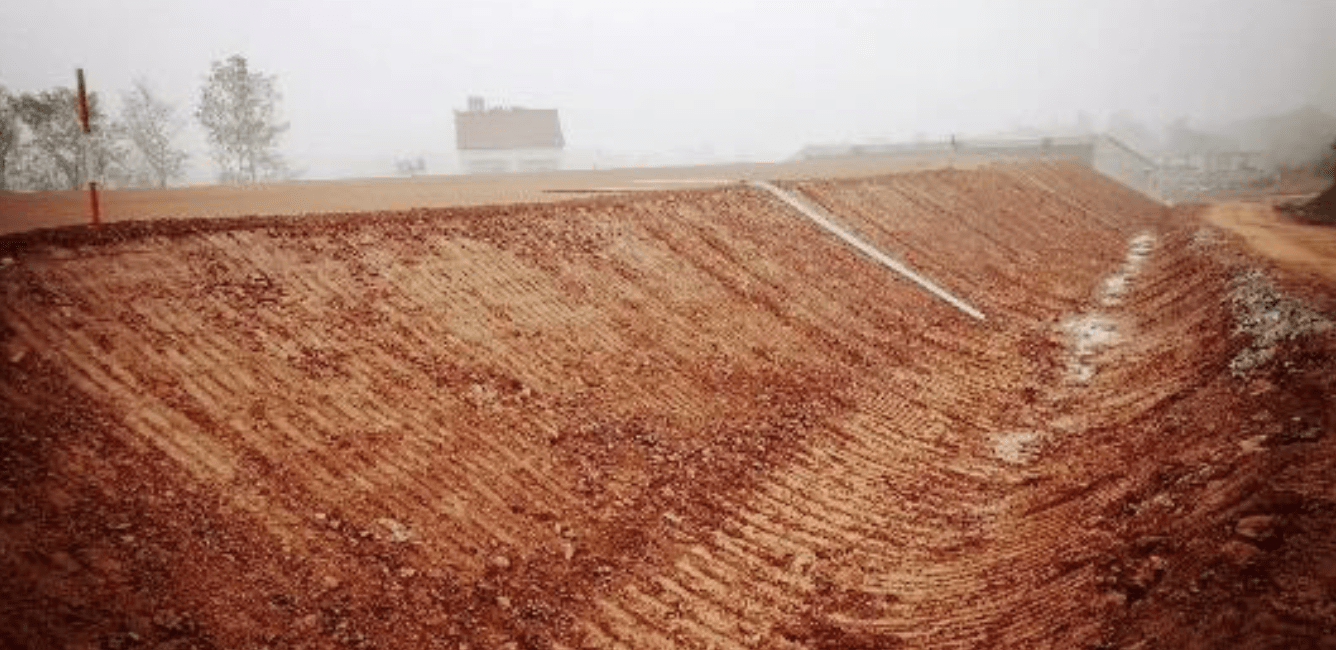
1. Slope Surface Preparation
- Excavate soil in layers, with each layer depth matching the vertical spacing of soil nails.
- The excavation level should be 200mm below the nail position.
- Trim the slope surface, removing protruding soil and compacting loose areas to ensure a smooth shotcrete application.

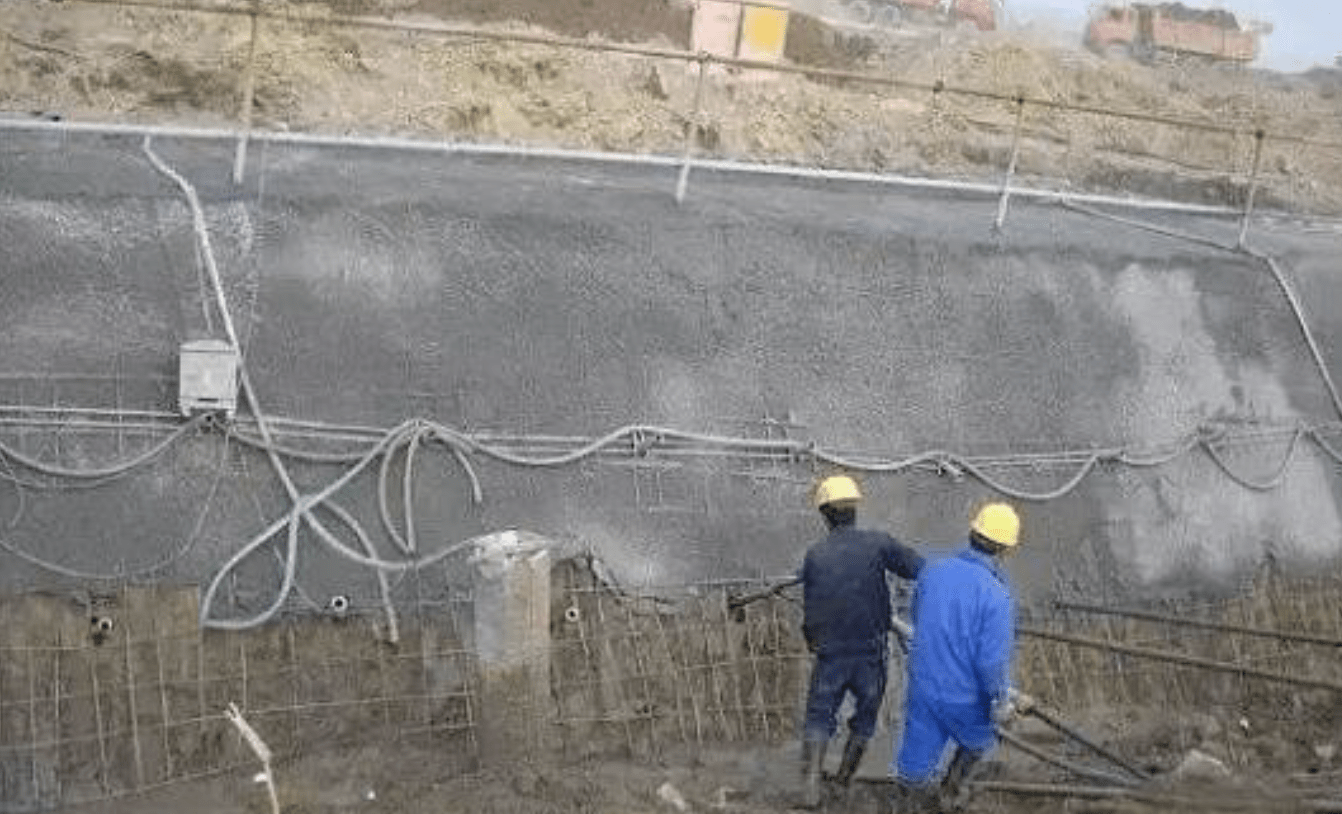
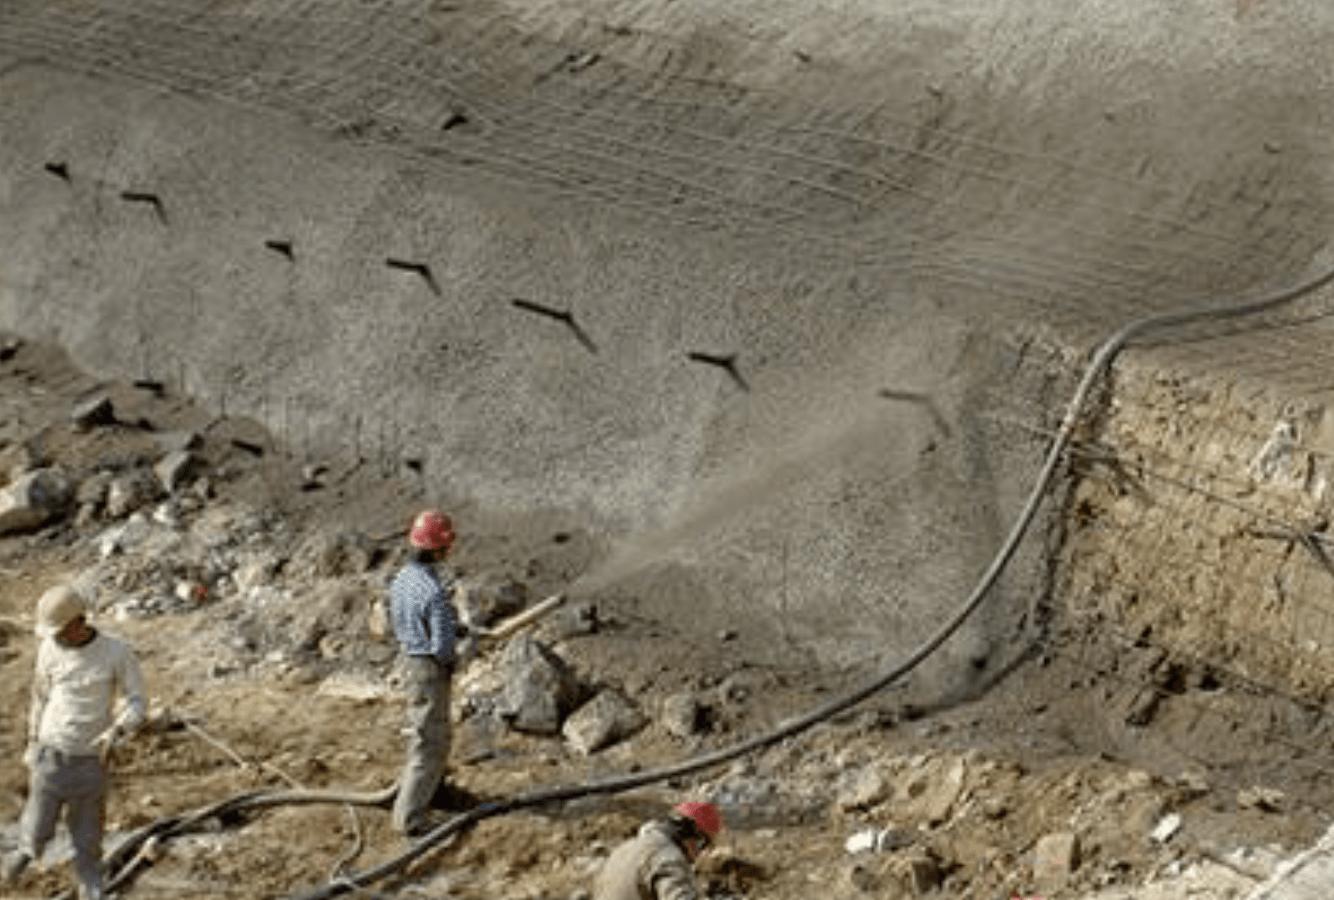
2. Initial Shotcrete Layer
- Apply concrete top-down, keeping the nozzle 0.8–1.5m from the surface.
- Maintain a perpendicular spray angle with a minimum thickness of 40mm.
- Use accelerators to enhance setting time and prevent slump.
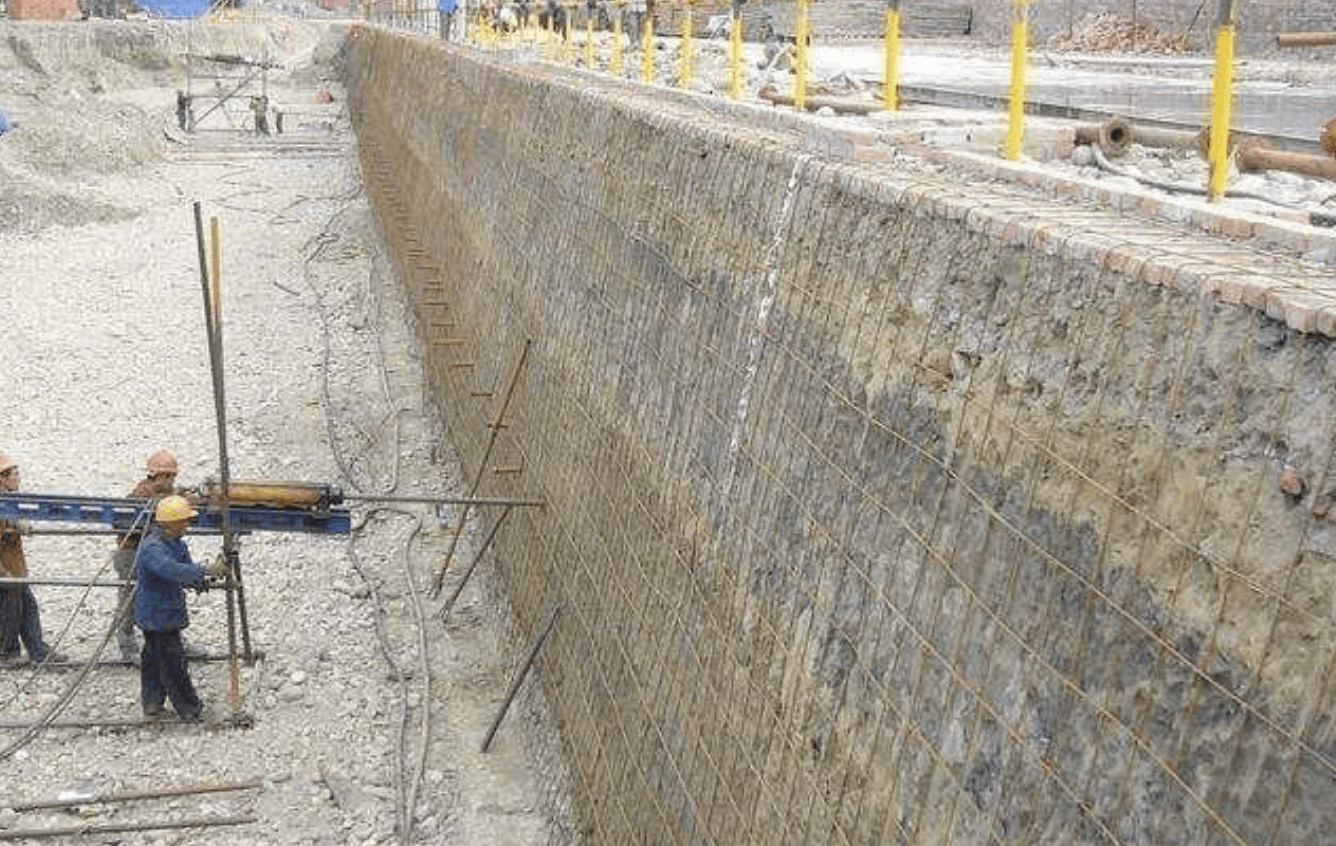
3. Drilling & Cleaning for Soil Nails
- Mark drill points according to design specifications.
- Begin drilling slowly, increasing speed once a stable depth is reached.
- Clean holes using high-pressure air or water to remove debris.
4. Soil Nail Installation
- Cut reinforcement bars (+20cm longer than design length) with a 90° bend (20cm) at the outer end.
- Install centralizers every 1–2m to ensure proper alignment.
- Attach grout pipes (extending 0.5m from the hole bottom) and secure nails to the reinforcement mesh.
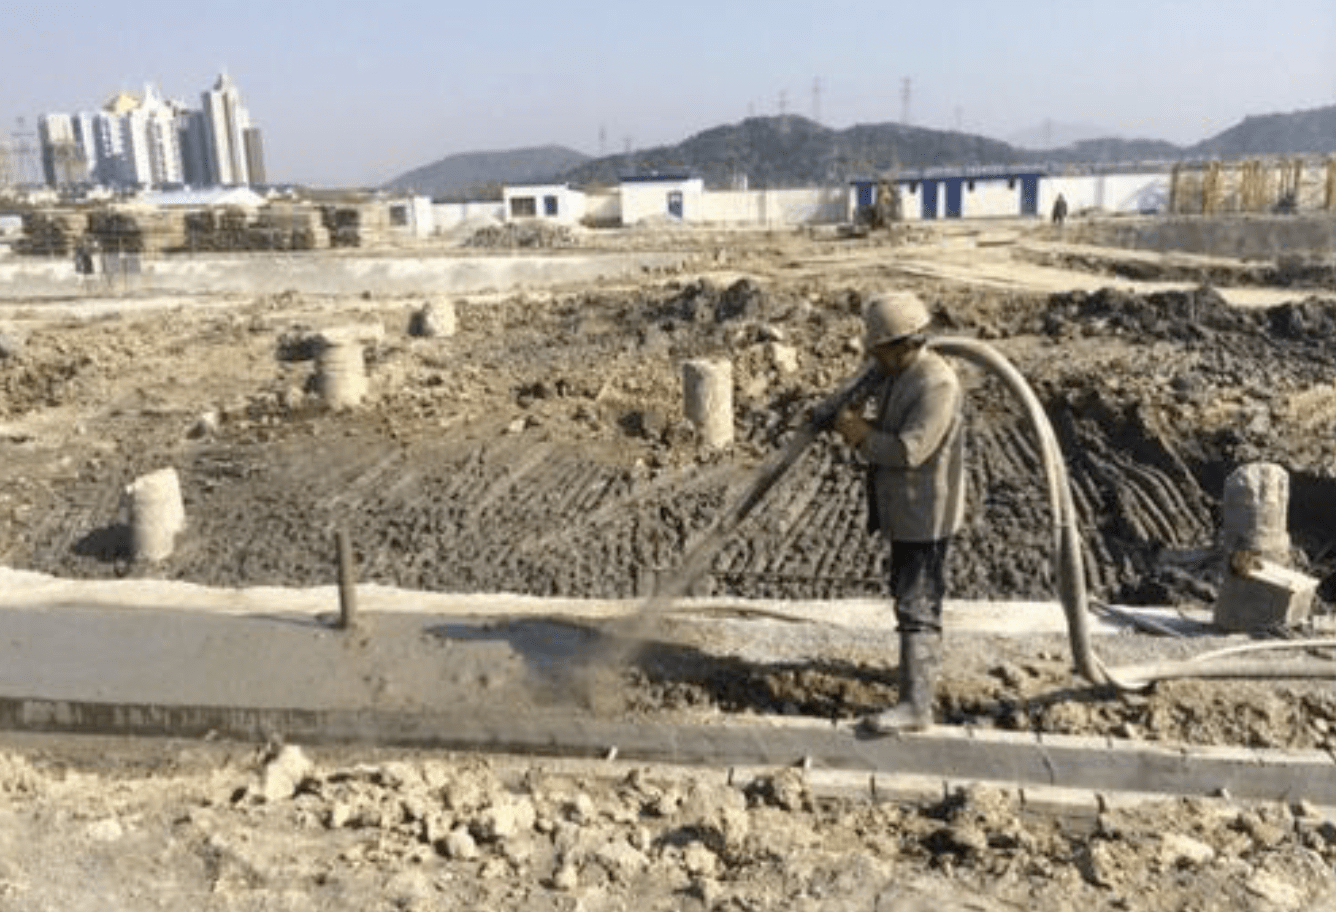
5. Grouting Process
- Use pressure grouting, inserting the pipe 250–500mm from the hole base.
- Seal the hole with a grout stopper and maintain pressure for 1–2 minutes after filling.
- Slowly withdraw the pipe while ensuring the outlet remains submerged for complete air expulsion.
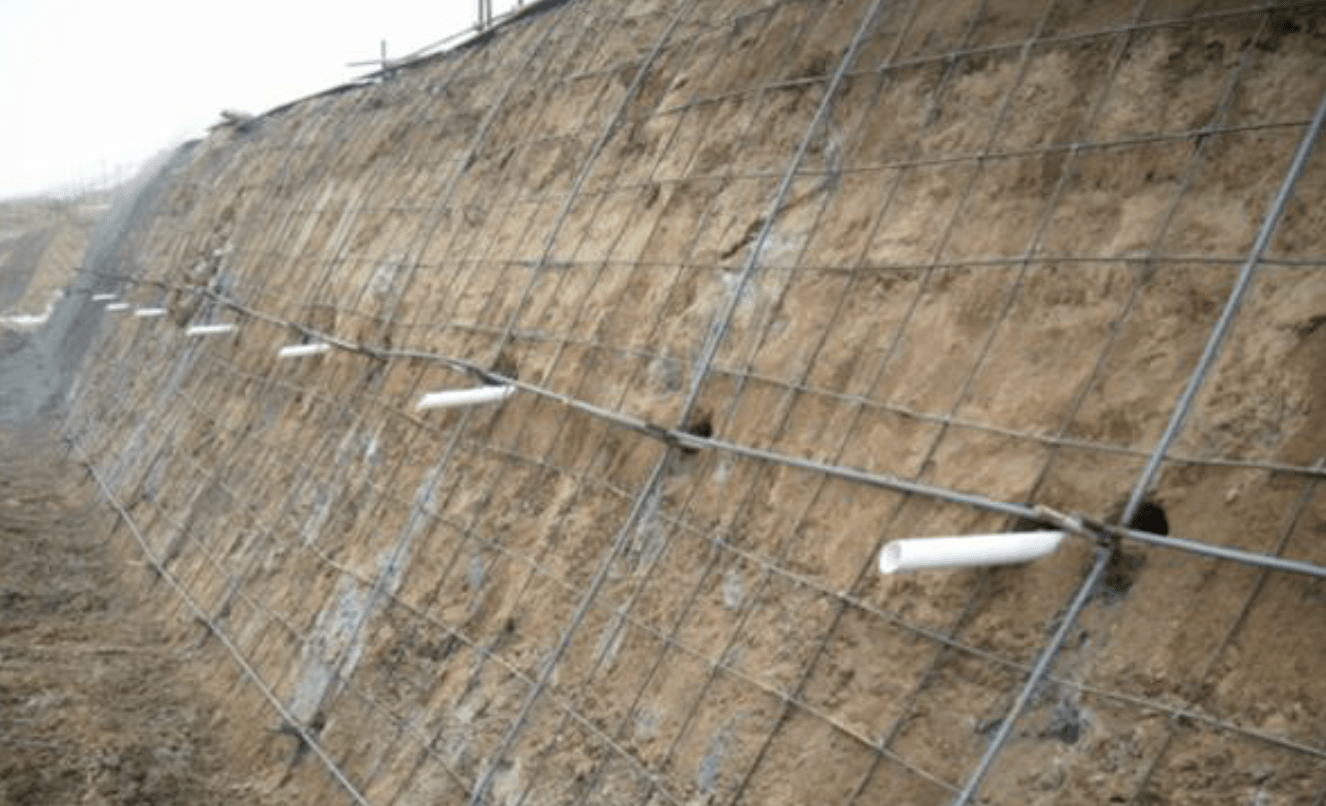
6. Reinforcing Mesh Installation
- Install wire mesh layer by layer with:
- ≥20mm cover thickness
- ≥30d lap length (10d for single-side welding)
- 0.5m extension beyond slope edges
7. Weep Hole Installation
- Insert 400–600mm long, ≥40mm diameter weep holes (slightly downward) at 1.5–2m spacing.
- Ensure pipes protrude from the shotcrete layer to drain accumulated water.
8. Final Shotcrete Application
- Begin after mesh and nail inspections.
- Spray perpendicularly in layers (first layer ≥40mm).
- Allow each layer to set before applying the next.
- Maintain 2h water curing post-setting to prevent cracking.
Key Technical Specifications
Types of Soil Nailing Walls
- Standard Soil Nailing Wall
- Prestressed Anchor Composite Wall
- Cement-Soil Pile Composite Wall
- Micro-Pile Composite Wall
Applicability & Requirements
- Safety Levels: Suitable for Grade II & III excavation supports.
- Standard walls: ≤12m depth (non-soft soil, above water table).
- Prestressed anchor walls: ≤15m depth.
- Cement-soil pile walls: ≤6m in soft clay.
Design & Construction Standards
| Parameter | Requirement |
|---|---|
| Slope Ratio | ≤1:0.2 |
| Nail Spacing | 1–2m (H & V) |
| Drill Angle | 5–20° |
| Hole Diameter | 70–120mm |
| Reinforcement | HRB400/500, Ø16–32mm |
| Grout Strength | ≥20MPa |
| Shotcrete Thickness | 80–100mm (≥C20) |
| Wire Mesh | Ø6–10mm @150–250mm |
Critical Construction Practices
✔ Follow “step-by-step excavation, immediate support” principles.
✔ Test nail pull-out resistance per layer.
✔ Complete nail & shotcrete within 24h (12h for soft clay).
✔ Allow 48h for grout setting before next excavation.
✔ Use 2-stage grouting:
- 1st: Cement mortar (≥1.2x hole volume).
- 2nd: Pure cement slurry (30–40% of 1st stage) @ 0.4–0.6MPa.
✔ Max aggregate size: 15mm.
✔ Minimum rebar cover: 25mm.
