
1. Basic Regulations
- Dense Pile Groups: Construction should proceed from the center outward symmetrically.
- Pile Groups Adjacent to Buildings: Construction should move from the building side to the opposite side.
- Based on Foundation Design Elevation: Deeper piles should be constructed before shallower ones.
- Based on Pile Specifications (Diameter & Length): Larger-diameter and longer piles should be constructed first.
- Prestressed Concrete Pile Connections:
- Methods: End-plate welding, flange connection, mechanical interlocking, threaded connection.
- Maximum of 3 joints per pile.
- Pile Ends in Water-Sensitive Strata:
- If embedded in easily softened weathered rock or unsaturated soil, apply anti-seepage measures (e.g., micro-expansion concrete fill or flexible waterproof coating) within 2m of the pile tip.
- Test Piling:
- Conduct trial piles before official construction (1% of total piles, minimum 5).

2. Test Piling Requirements
Basic Guidelines:
- Use actual pile locations for test piles (later used as working piles).
- Test piles should represent site geology, size, and length.
- Place near key boreholes.
- Follow the same construction method as production piles.
- Use high-strain dynamic testing (PDA) during trial driving.
High-Strain Testing Procedure:
- Estimate pile length based on geotechnical data + 3–4m.
- Drive pile using standard methods, recording details.
- Pause near bearing layer; install sensors and resume hammering.
- Stop when resistance reaches 2Ra/a (where Ra = design capacity, a = soil recovery factor: 1.2–1.4 for clay, 0.9–1.1 for sand).
- Measure depth, final penetration, and blows per last meter.
- Re-test after 24h. If resistance ≥ 2Ra, adopt the results; otherwise, adjust a and repeat.
Required Test Data:
- Ultimate vertical bearing capacity.
- Side friction and end resistance.
- Maximum hammer energy & pile stresses.
- Pile integrity.
- Embedment depth, blow counts, and penetration rate.
3. Construction Process Flow
- Survey & Layout
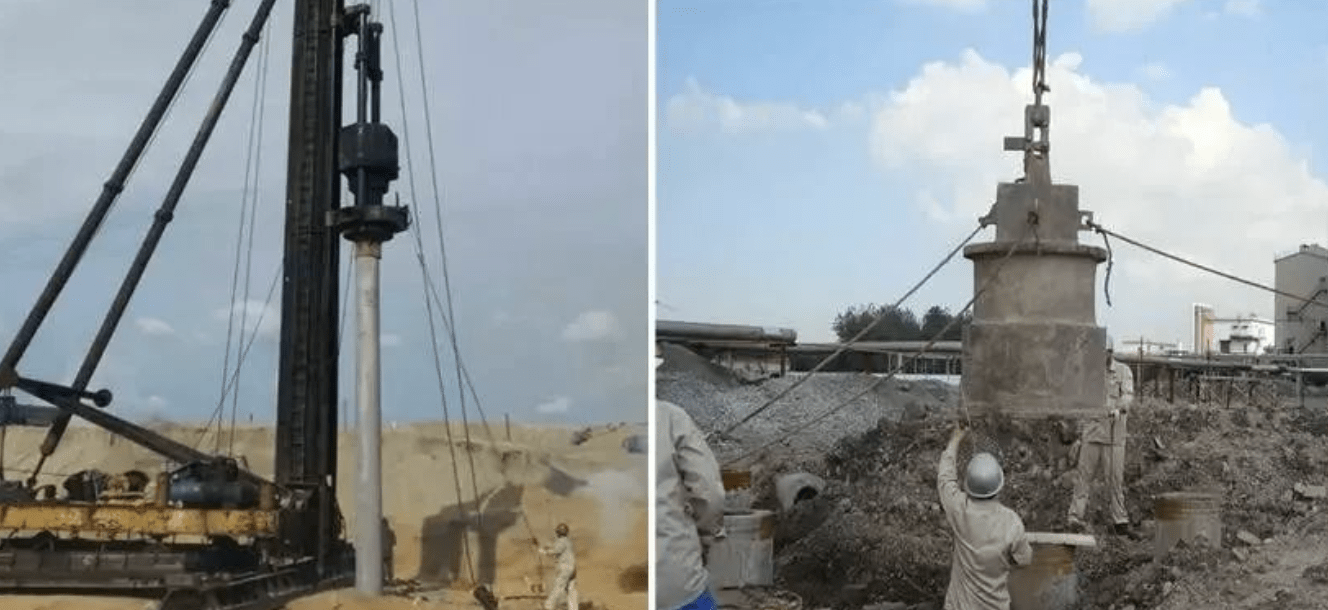
- Pile Rig Setup
- Pile Alignment
- Driving
- Splicing (if needed)
- Final Driving (Termination Criteria)
- Cutting Excess Pile Length
- Inspection & Testing
4. Operational Methods
Survey & Layout
- Control points should avoid pile interference.
- Mark pile positions with stakes/lime.
Pile Rig Setup
- Ensure “three accessibilities” (water, power, road) and level ground (bearing capacity ≥140 kPa/m²).
- Soft Ground Improvement:
- Fill with 0.5–1m brick slag for soft clay.
- 0.3–0.5m brick slag for loose fill.
- Adjust rig for vertical alignment (±0.5% tolerance).
Pile Handling
- Precast piles must reach 70% strength for lifting; 100% for driving.
- Attach pile tip before lifting (no post-lift welding).
- Use pile-specific helmets and cushioning (120–150mm compressed thickness).
- Hammer cushions: 150–200mm hardwood or steel rope.
Pile Driving
- Initial Penetration: Use low energy in soft layers.
- Hard Strata: Drive continuously to minimize delays.
- Stop Conditions: Abnormal resistance, pile damage, or excessive heave.
- Blow Count Limits:
- PC piles: ≤2000 total blows, ≤250 blows/last meter.
- PHC piles: ≤2500 total blows, ≤300 blows/last meter.
- Pre-Drilling (If Needed):
- For hard layers/thick sand.
- Drill diameter: 50–100mm smaller than pile.
- Max depth: 12m; complete within same shift.
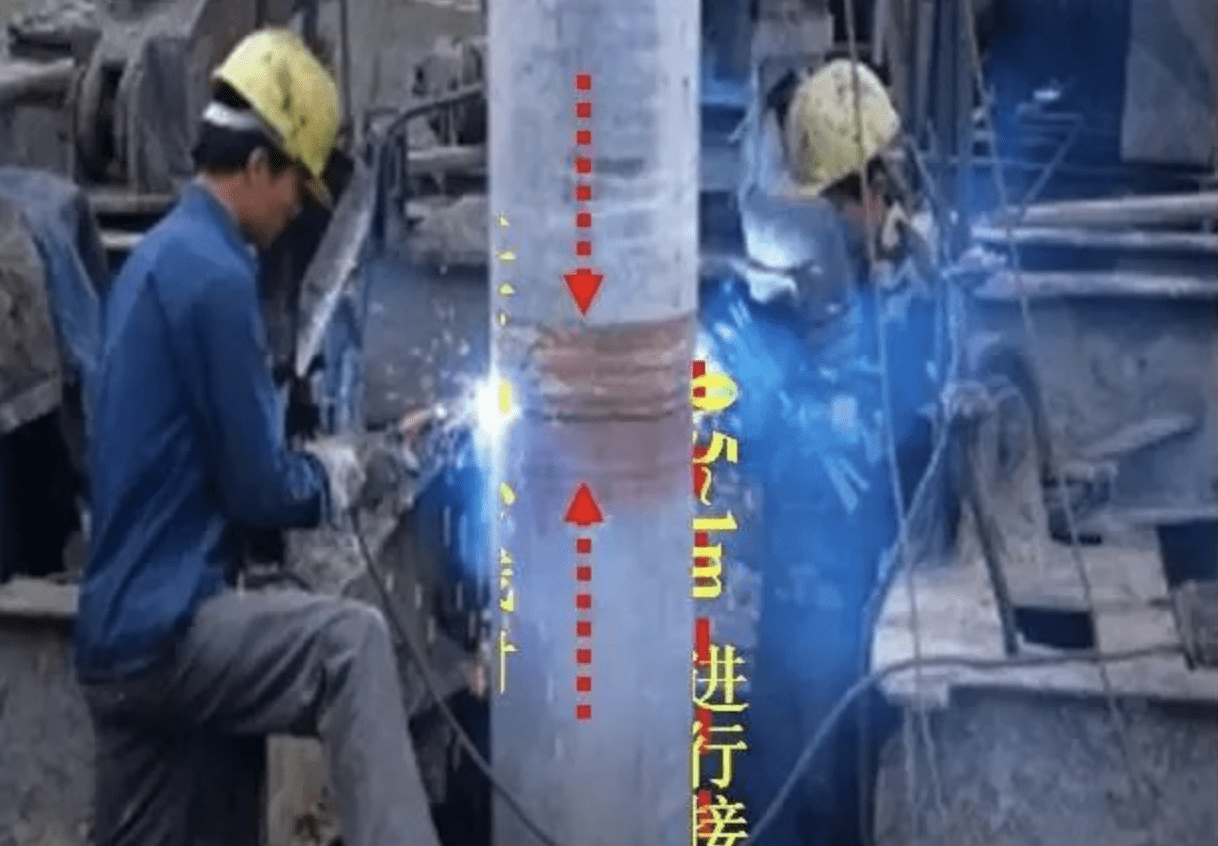
Splicing
- Weld at 50–100cm above ground (2 layers, 3 passes).
- Align sections (<2mm misalignment); weld symmetrically.
- Cool naturally (≥5min for manual welding; ≥3min for CO₂).
Final Driving (Termination Criteria)
- Primary Controls: Bearing layer + final penetration/blow count.
- Penetration Standards:
- Typically ≥20mm/10 blows (average of 3 readings).
- For thin weathered rock: ≥15mm/10 blows.
- Ensure load capacity overrides strict penetration rules.
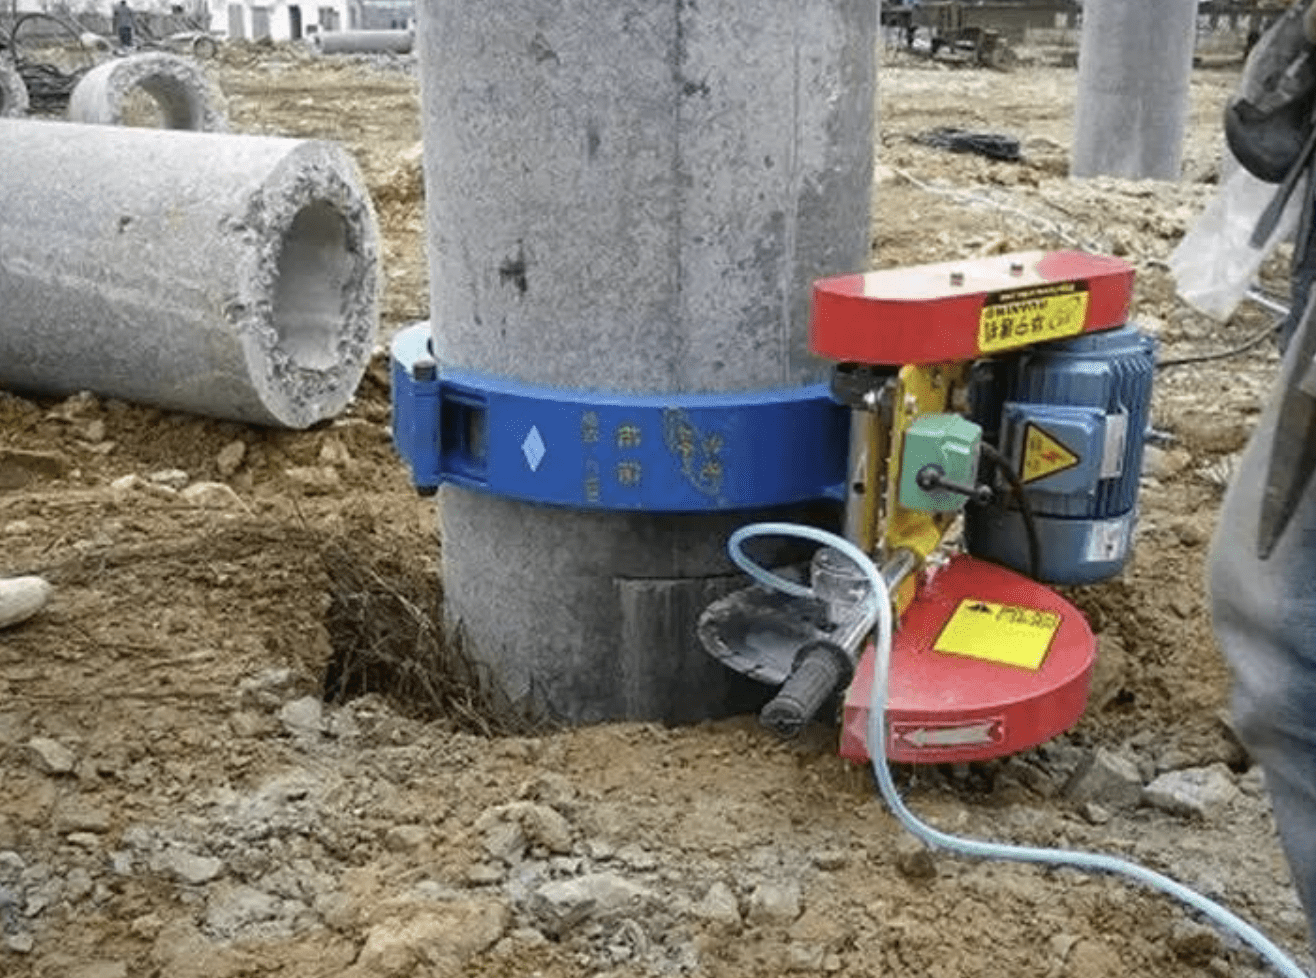
Cutting & Inspection
- Use pile cutters (no manual breaking).
- Check: Elevation, length, position, and capacity.
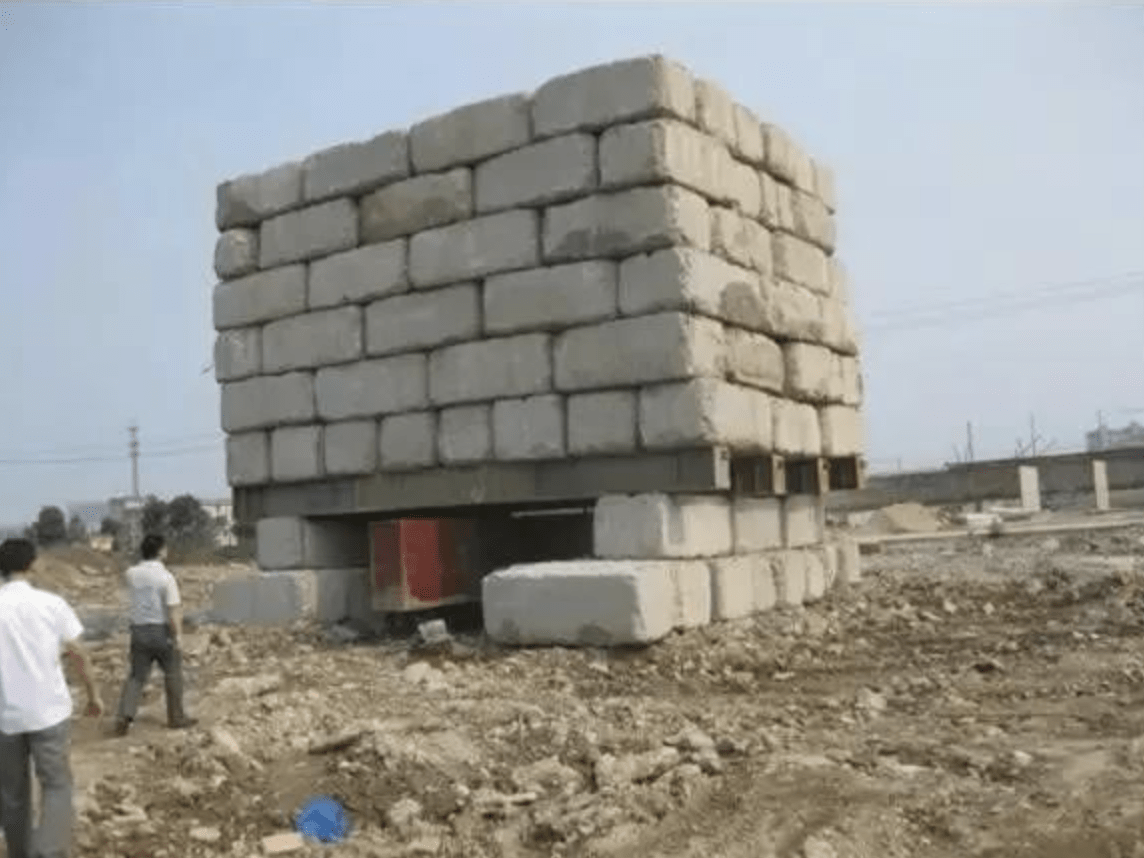
Testing & Waiting Periods
- High-Strain/Static Load Test Delays:
- Sand: 7 days.
- Silt: 10 days.
- Clay: 15–25 days (saturated).
- Water-sensitive rock: ≥25 days.
- Test Quantities:
- 1% static tests (min 3 piles); 20% integrity tests for risky sites.
- 8% high-strain tests (min 10 piles) for others.
Post-Construction Protection
- No excavation until pile work finishes (+15 days in clay/silt).
- Deep excavations require staged plans and monitoring.
- Limit soil pile height difference to 1m; avoid machinery contact.
- Soft soil sites: Use manual excavation or ground improvement.
