
Pre-construction Preparation
-
Review all design drawings, specifications, standards, and geological survey reports to understand design intent and technical requirements
-
Study geological conditions and distribution characteristics of various soil layers based on the survey report; identify bearing stratum locations, rock sample colors, hardness, etc., according to design drawings
-
Conduct equipment inspection after pile rigs arrive on site; verify drill bit dimensions for all rigs
-
After steel reinforcement and other raw materials arrive, the materials department must promptly submit product certificates and quality documentation while conducting visual quality inspections. The laboratory should immediately perform sampling tests and submit results for supervisor review.
Construction Process Flow
-
Site preparation and leveling
-
Survey setting-out and drilling position marking
-
Installation of guide piles
-
Steel casing installation
-
Rig positioning
-
Drilling commencement
-
Process inspection
-
Final hole completion
-
Hole inspection
-
Primary hole cleaning
-
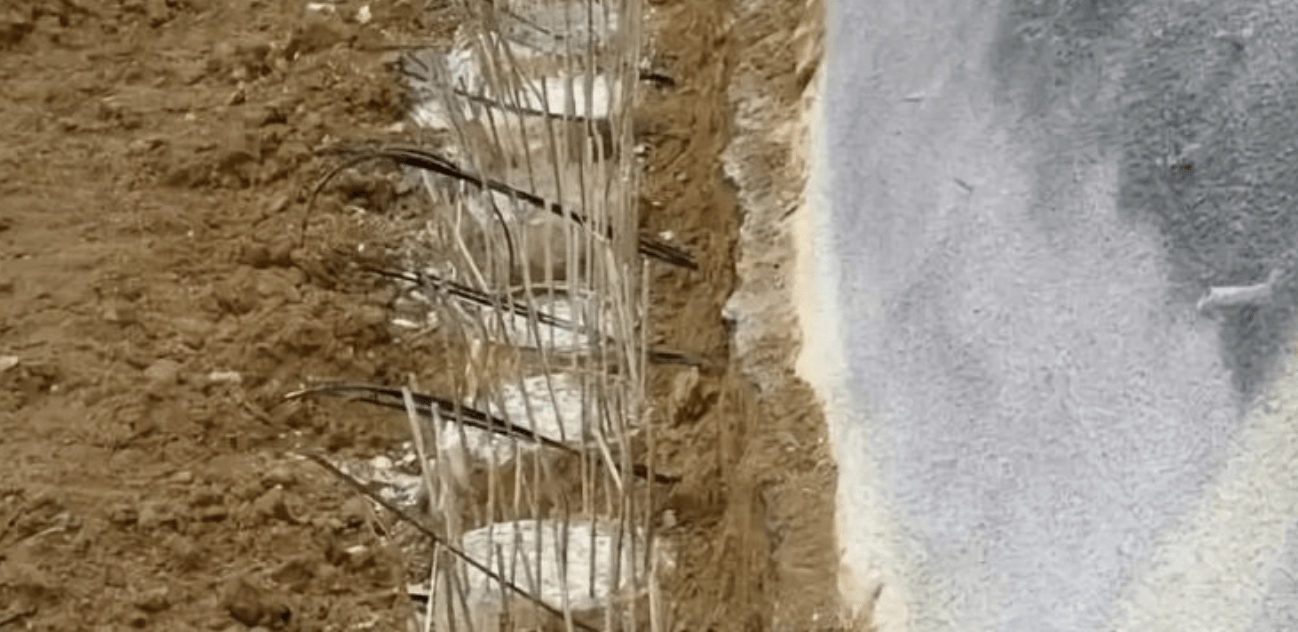
Reinforcement cage fabrication and installation
-
Tremie pipe installation (leak test and tensile test)
-
Secondary hole cleaning
-
Concrete pouring
-
Casing removal
-
Rig relocation
-
Pile head breaking
Mud Pit Excavation and Slurry Preparation
-
Excavate mud pits and prepare drilling fluid
-
Slurry density must meet specification: 1.1 < r < 1.3
Position Marking and Guide Pile Installation
-
Ensure accurate position marking
-
Verify axis-to-pile-center dimensions according to drawings
-
Install guide piles to check for casing and reinforcement cage deviation
-
Maintain position deviation ≤5cm
-
Casing requirements:
-
Compact backfill
-
Exposed casing height ≤50cm
-
Inclination ≤1%
-
Drilling and Final Hole Inspection
-
Prepare slurry using bentonite before drilling (density: 1.1 < r < 1.3)
-
Begin drilling at a slow speed
-
Check the hole inclination during drilling
-
Maintain drilling records and verify geological conditions
-
Post-drilling inspections must include:
-
Hole depth
-
Hole diameter
-
Inclination
-
Sediment thickness
-
Primary Hole Cleaning
-
Perform primary cleaning for ≥30 minutes after final drilling
-
Control mud density through the slurry replacement method
-
Meet specified primary cleaning requirements
Reinforcement Cage Fabrication and Installation
-
Inspect:
-
Cage specifications
-
Main bar spacing
-
Dimensions
-
Welding quality
-
-
During installation, verify:
-
Lap length
-
Welding quality (full welds, removed slag)
-
Hanger bar length
-
Bottom cage length
-
-
Key control points:
-
Welding quality (lifting points and inner hoop welds)
-
Lap length
-
Hanger bar length
-
Tremie Pipe Installation
-
Conduct leak and tensile tests before installation
-
Calculate installation length
-
Verify proper gasket installation and threaded connection accuracy
-
Key control points:
-
Maintain ~40cm distance between the pipe bottom and the hole bottom
-
Ensure proper pipe length and seal integrity to prevent air leaks
-
Secondary Hole Cleaning
-
Control parameters:
-
Mud density <1.2
-
Sand content <2%
-
Sediment thickness ≤20cm
-
-
Verify the hole depth after subtracting the cone tip length
-
Post-cleaning inspections:
-
Sediment thickness
-
Sand content
-
Mud density
-
Hopper Installation
Concrete Pouring
-
Pre-pour checks:
-
Slump test (200±20mm)
-
Workability test
-
-
Maintain ~30cm distance between tremie bottom and hole bottom (add short section if >50cm)
-
Size hopper according to pile diameter to ensure ≥1m initial concrete rise
-
Fill the hopper before releasing the drop ball or valve
-
During pouring:
-
Control tremie removal (calculate sections precisely)
-
Maintain 2-6m embedment depth in concrete
-
Withdraw the tremie slowly to prevent voids
-
Perform slump tests during pouring
-
-
After completion:
-
Overpour 0.5-1.0m (verify with bamboo pole or rebar)
-
Record the concrete volume used
-
-
Key control points:
-
Tremie bottom distance
-
Initial pour volume
-
Continuous pouring and tremie removal length
-
Pile Top Elevation Control and Casing Removal
-
Pour concrete continuously
-
Verify final elevation and overpour meet design requirements
-
Prepare concrete test specimens marked with the pile number and date
-
Remove casing within 2 hours after pouring
-
Extract casing vertically (avoid side-to-side machine movements)
-
Key control points:
-
Pile top elevation
-
Test specimen preparation
-
Proper casing removal
-
Pile Head Breaking
This comprehensive guide to bored pile construction covers all critical steps from preparation to completion, with emphasis on quality control points throughout the process. Following these standardized procedures ensures structural integrity and compliance with engineering specifications for deep foundation work.
