
Introduction to Soil Nailing Technology
Soil nailing has emerged in recent years as an innovative earth retention system for soil excavation and slope stabilization. Due to its economic advantages, reliability, and rapid construction process, this technique has gained widespread adoption in geotechnical engineering projects.
Soil nails (originating from the French term “Clouage de Sol”) are slender tension-resisting elements (typically steel bars or pipes) that are installed in situ at close spacing within the soil mass. These elements are usually grouted with cement mortar or neat cement paste. The fundamental characteristic of soil nails lies in their full-length bond with the surrounding soil, functioning as a group to form a composite mass with the native soil. When minor soil deformation occurs, the nails develop tensile forces through interface friction or bond strength, thereby providing stabilizing restraint to the reinforced soil mass.
Principles and Characteristics of Soil Nail Walls
Working Principle
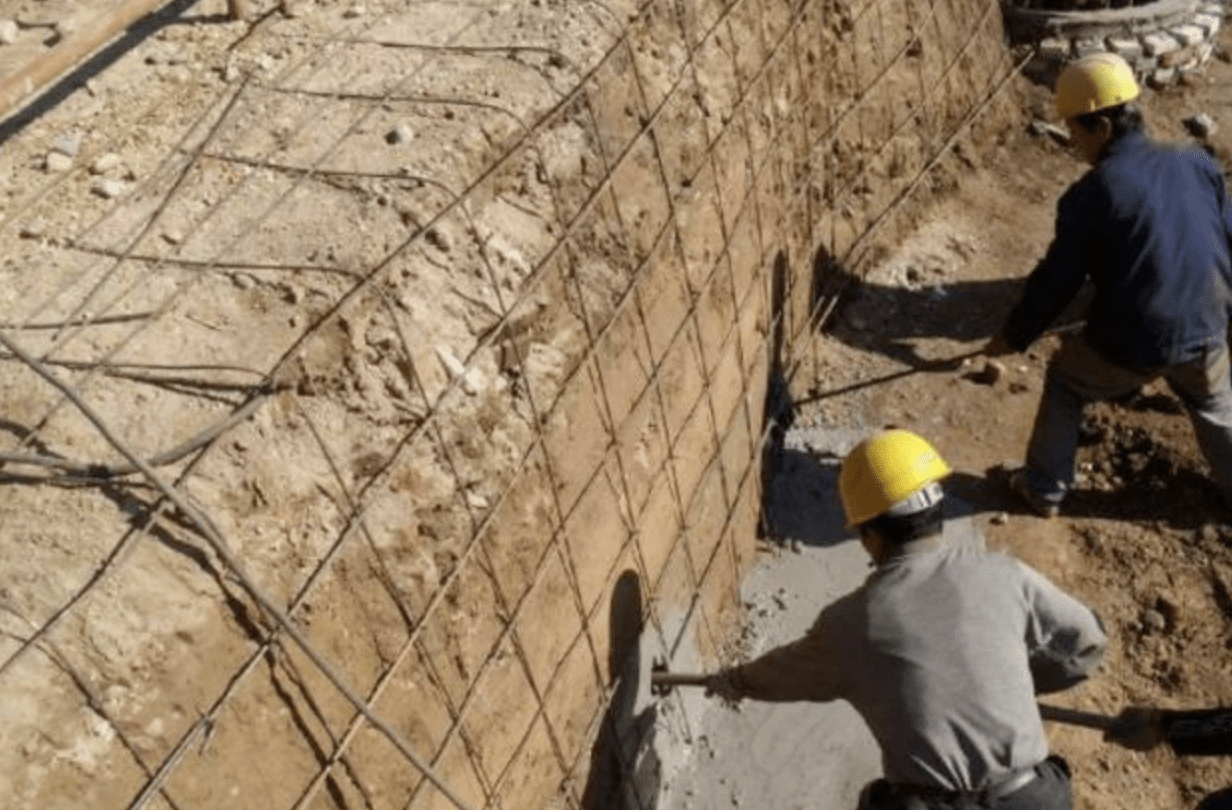
A soil nail wall consists of reinforced soil mass and facing elements stabilized with soil nails. The system works by installing tension-resisting elements throughout the soil mass and connecting them to a reinforced facing (typically steel mesh with shotcrete). This creates a reinforced soil zone that enhances the overall strength of in-situ soil, limits displacement, and improves the inherent stability of excavated slopes.
Types of Soil Nails
-
Drilled and Grouted Soil Nails: The most common type involves drilling, steel insertion, and grouting
-
Driven Soil Nails: Installed by impact methods without grouting
-
Jet-Grouted Soil Nails: Formed by high-pressure grout injection
Key Advantages
-
Optimal utilization of soil’s self-supporting capacity: The native soil becomes an integral part of the structural system
-
Lightweight and flexible structure: Provides excellent seismic performance and ductility
-
Efficient construction process: Simple nail fabrication and installation with adaptable designs based on monitoring data
-
Space-saving solution: Particularly advantageous in confined workspaces where large equipment cannot be accessed
-
Cost-effective: Requires less material than traditional retaining systems
-
Immediate stabilization: Provides support during excavation
Structural Components and Design Specifications
A standard soil nail wall system comprises three primary elements:
-
Soil nails: Primary reinforcing elements
-
Facing: Structural surface treatment
-
Drainage system: For water management
Detailed Design Requirements
-
Wall slope: Maximum gradient of 1:0.1 (vertical: horizontal)
-
Nail connection: Must be effectively connected tothe facing through bearing plates or reinforcement
-
Nail length: Typically 0.5-1.2 times the excavation depth
-
Nail spacing: 1-2m (both horizontal and vertical)
-
Installation angle: 5°-20° from horizontal
-
Reinforcement: Grade II or III steel bars with diameters of 16-32mm
-
Borehole diameter: 70-120mm
-
Grout material: Cement mortar or grout with a minimum strength of M10
-
Facing specifications:
-
Reinforcing mesh: 6-10mm diameter bars at 150-300mm spacing
-
Shotcrete: Minimum C20 strength with 80mm thickness
-
Mesh overlap: Minimum 300mm at panel joints
-
-
Water management:
-
Groundwater control above the excavation level
-
Protective coping at the wall top (mortar or concrete)
-
Drainage provisions at the top and toe
-
Weep holes as required
-
Construction Methodology
(1) Excavation Process
-
Controlled excavation: Strictly follow the designed sequences and bench heights
-
Phased construction: Next level excavation only after the previous level achieves 70% design strength
-
Bench height: Typically matches vertical nail spacing (1-2m)
-
Panel width: Generally 10-20m, depending on soil stability
-
Central excavation: For large sites, the central area (8-10m from the perimeter) may be excavated freely
-
Precision grading: Use equipment that minimizes soil disturbance
-
Final trimming: Manual trimming to achieve the required slope geometry
(2) Initial Facing Application
-
Immediate protection: Apply a thin shotcrete layer after each excavation phase
-
Optional application: May be omitted in competent soils
-
Shotcreting specifications:
-
Panel-based application with bottom-up sequence
-
Minimum 40mm thickness per pass
-
Nozzle orientation: Perpendicular to face at 0.6-1.0m distance
-
Curing: Water spray after 2 hours of setting for 3-7 days
-
(3) Nail Installation and Grouting
Soil nails are typically installed by drilling, steel placement, and grouting (for bar nails) or driving and grouting (for pipe nails).
A. Drilling Operations
-
Surveying: Mark drill locations as per design
-
Equipment: Use dedicated drill rigs (no water flushing to prevent soil weakening)
-
Technique: Start slowly, then increase speed after initial penetration
-
Quality control:
-
Monitor bit wear to ensure the required hole diameter
-
Prevent soil disturbance
-
Clean holes with compressed air (2-3 minutes)
-
Address any instability immediately
-
-
Timely completion: Install reinforcement promptly after drilling
B. Reinforcement Placement
-
Material: Deformed steel bars
-
Centralization: Use spacers (2-3m spacing) to maintain alignment
-
Spacer design: Must not impede grout flow (metal or plastic)
This comprehensive soil nailing system provides an efficient, cost-effective solution for temporary and permanent earth retention applications across various soil conditions. Proper design and construction following these specifications ensure optimal performance and long-term stability of reinforced soil structures.
